
Showing posts with label pendant. Show all posts
Showing posts with label pendant. Show all posts
Saturday, May 30, 2015
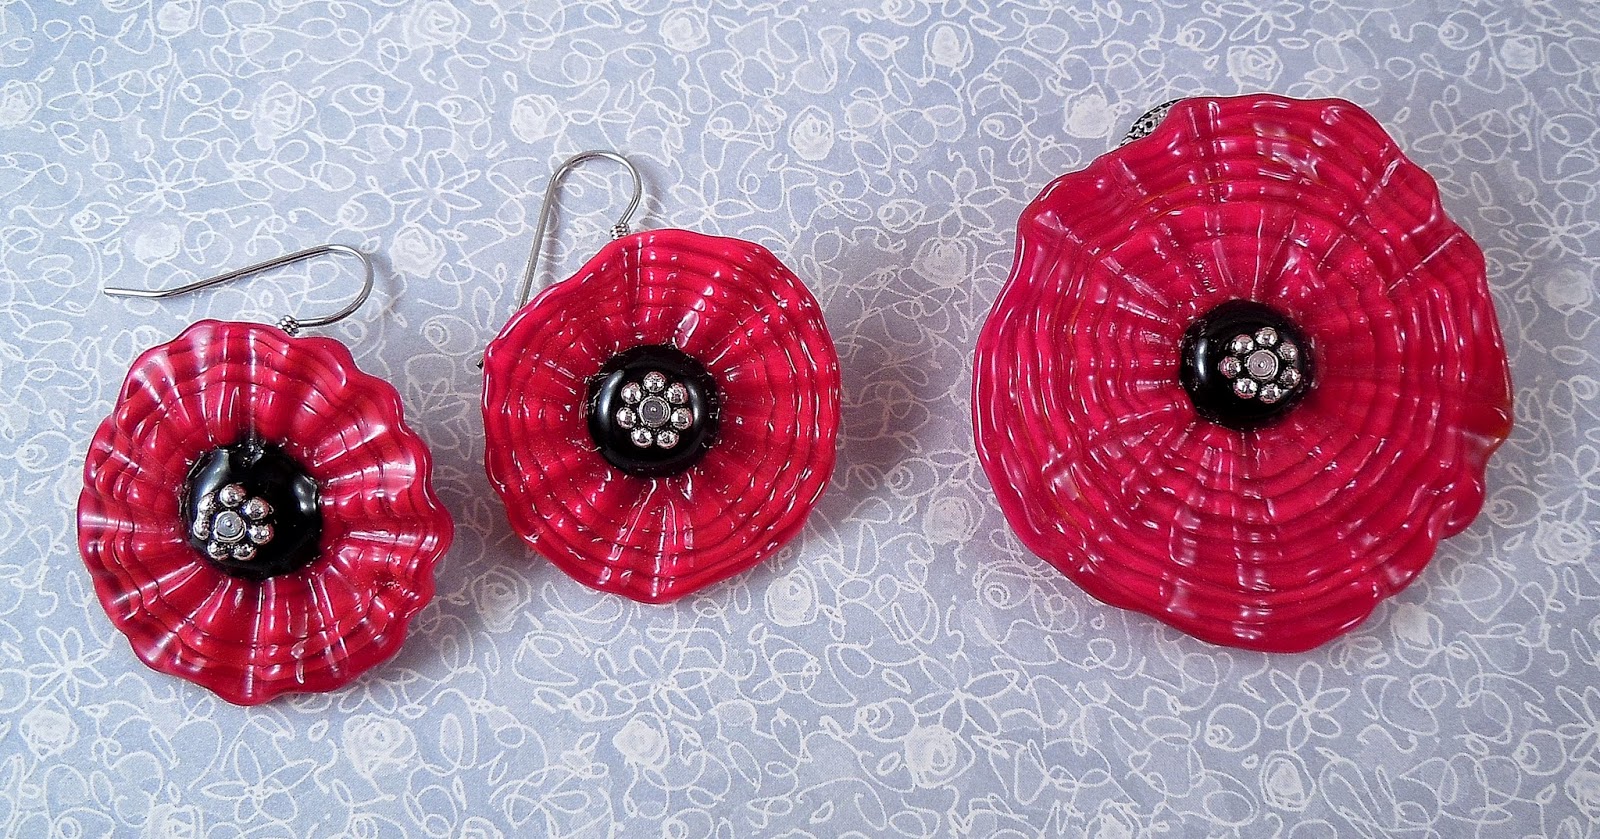
New Pendants
Tuesday, June 03, 2014
Trunk Show and some classes.
I have started to do a little teaching this year and have lined up three classes and a trunk show at the Smiling Turtle Art Spot on Omaha, NE next month. I will be doing a two day trunk show from the 13th - 14th of June and will be teaching both Friday and Saturday.


 If you want to know more about the dates and times of these classes or see more about the Smiling Turtle Art Spot be sure to check out be sure to check out their June newsletter, and do make sure to come to the opening reception on the 13th.
Monday, October 07, 2013
Free Tutorial on using a disc or flower bead.
So often, when we have a disc or flower lampwork bead we want them to hang where they face the front. This tutorial is just a little trick to make them hang better and stay facing front and not flipping.

 |
| Take the head pin and put on one daisy spacer, (about 2 size 11 seed beads), the lampwork disc bead, and the second daisy spacer. The seed beads just help to stabilize the head pin inside of the hole of the lampwork bead so you do not want any more than just fill that space. |
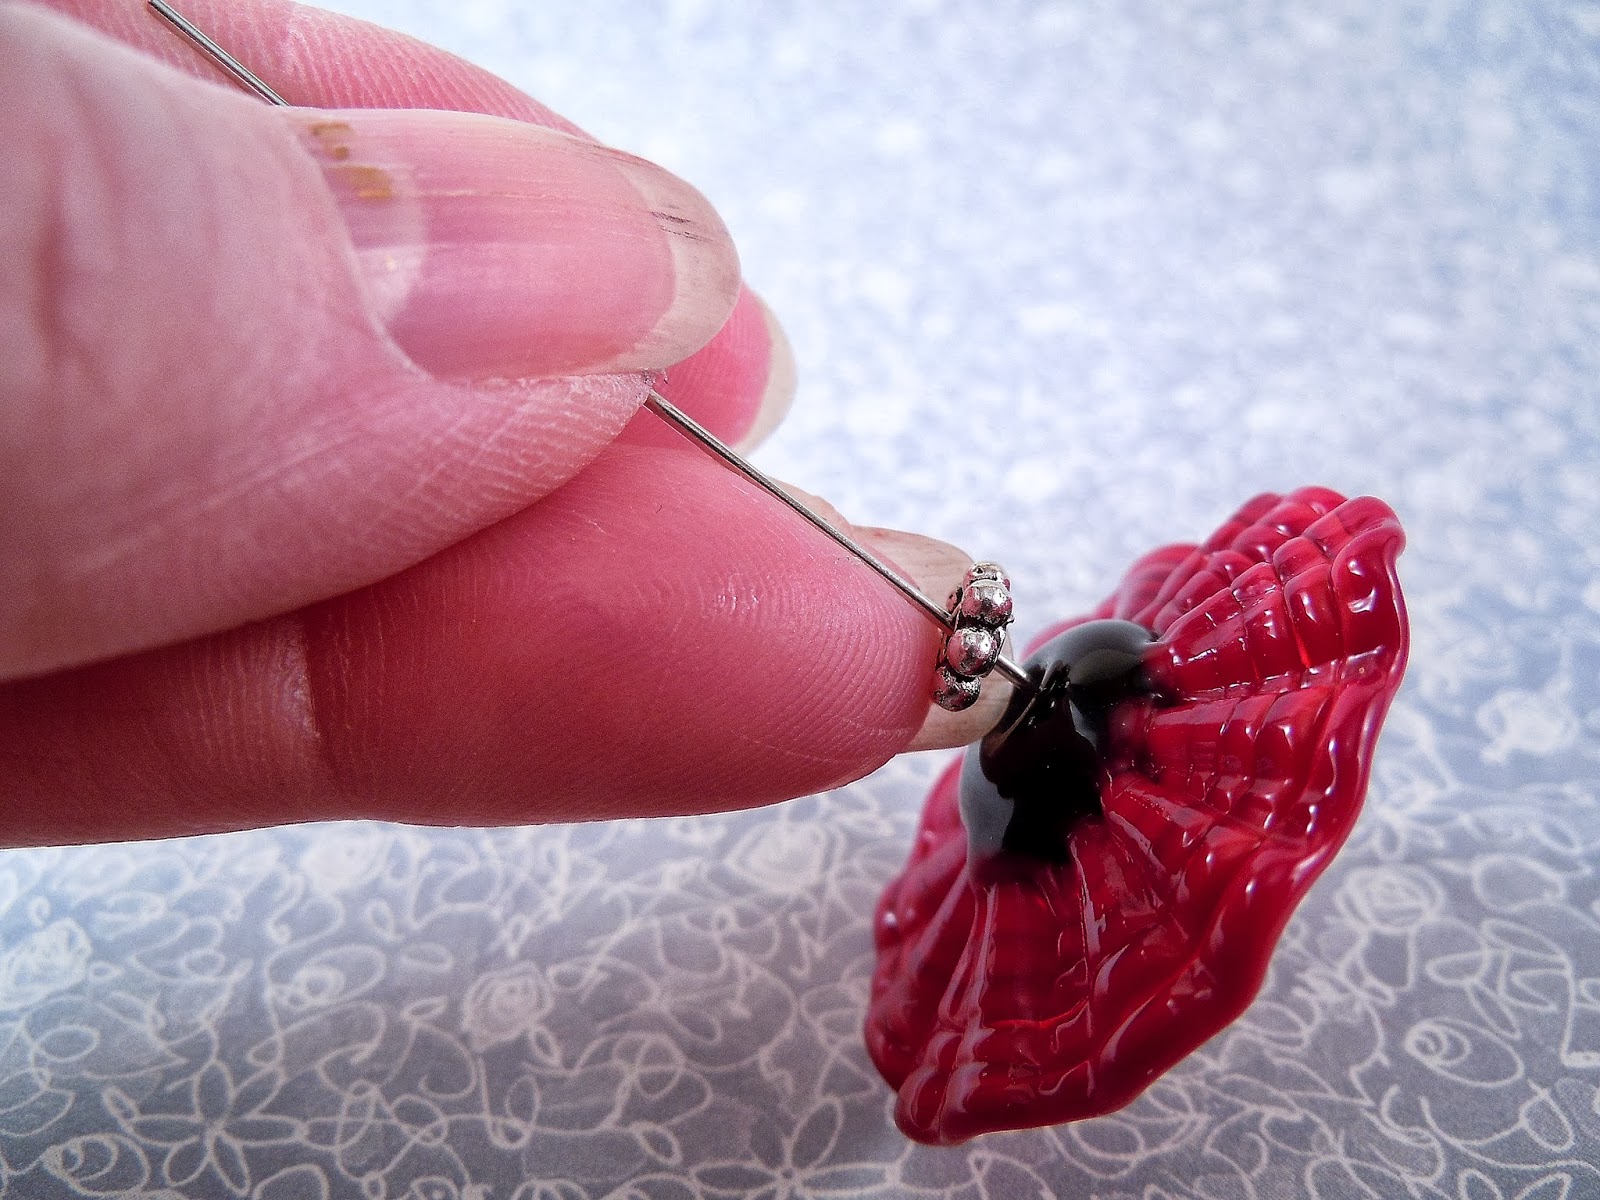
If you wish to use the dab of glue (E6000) that I like to use, it is placed just behind the back daisy spacer. You want to use just a tiny amount and let it dry before going on.

Once the glue has set, you take your round nose pliers and grip the headpin about 3/8 of and inch above the back of the daisy spacer. I don't really measure this any more because I use the width of my fingernail. You will want to make sure that the measurement is very close to the same if you are making earrings.


Wednesday, August 21, 2013
Joan's Necklace

Saturday, June 08, 2013
New Necklace


Thursday, January 31, 2013

Subscribe to:
Posts (Atom)