Showing posts with label lampwork flowers. Show all posts

Tuesday, March 17, 2015

New Etched Flower beads

While we were in Tucson I had the necklace I showed off a few months ago on display (You can see it here : http://tanyamcguire.blogspot.com/2015/01/a-new-necklace.html ). everyone wanted to know where those flowers were and I had used them pretty much all up for the necklace so I decided I had better get a batch made for the spring shows. Lots of nice soft etched colors.

Saturday, January 31, 2015

New flower necklace.

 This is another new necklace for the spring.
It has just one of my double lampwork flower beads sits in the center of this piece.

Wednesday, January 28, 2015

Black Metallic Glass is.....

 .............one of my favorites. I just love the raku type of colors that come out in it as you work with it.
I made a bunch of different shapes for the spring shows.  I used every last little bit of this glass I had so of course I am ordering more.

Saturday, January 17, 2015

Up next are new Flower Power Beads

 Of course I have been working on a big batch of my bright colored Flower Power beads to have ready for the show and hopefully get some listed on Etsy.
 While making the Flower Power beads I also had to make a few more of the cone shaped ones that were new last fall.
And I couldn't forget the little single color ones.  I almost think these are my favorite.  Now to get time to make some jewelry with some of them.

Tuesday, September 09, 2014

NEW!!! cone shaped flower power beads.

 These are some new cone shaped Flower Power beads.  The front of the cone has the Flower Power daisy shape of my flatter Flower Power beads.  These are cone or bell shaped with a ruffled lip.
 I made some with a different color around the edge and some all one color.
 Frankly I can not decide which way I like them better.  I also have all kinds of ideas popping into my head for ways to use these and no time to work on anything since I am leaving Thursday for WI and IL.
These are pretty small.  They of course kept growing as I was working but I had in my mind that they would be small. 

Saturday, September 06, 2014

Etched fancy flowers

 I made some of my fancy flowers with the simple combination of clear and black glass then etched them.
 I really like how the etching makes them soft like sea glass.  I made enough to take a bunch with me on my road trip of trunk shows.
And even list a few on Etsy in just a few minutes.

Thursday, August 21, 2014

I have been .........

 ............working with the black metallic glass again.
 I just love the colors that this glass produces.  It has that look of Racu pottery that just amazes me how it looks iridized and matte all in the same piece.
These pieces are all headed for my Etsy shop https://www.etsy.com/shop/tanyamcguire but I will be making more to take to next months trunk shows.

Sunday, August 17, 2014

Flower Power Flowers

I haven't for some reason made my Flower Power beads in a while so I worked really  hard for a couple of days and made a big batch.
I was concentrating on pairs because so many people like to make earrings with these.
I also made some mini flowers because I have an earring idea that I hope to get worked out in the next week.  I of course listed some of each in my Etsy store that you can find here. https://www.etsy.com/shop/tanyamcguire

Friday, August 15, 2014

Multi color blue poppy beads.....

...........are the flower of the day.  We are back from Stitches Midwest and working hard to get back into the rhythm of things. 
 So some pretty blue flowers are headed for Etsy and a few for my next few shows as well.
 I am not getting as much studio and work time this week as normal because hubby had shoulder surgery and we have been going to Physical Therapy every day.  We start on three days a week next week which will make it much better.
Do make sure to check out my Etsy store if you are interested in some flower beads.

Monday, July 28, 2014

Jewel tone Daisy's

 Lovely, lovely jewel tone daisy's.  I have made these before but not in quite a while and I just had to get a few in my boxes. I love the watery feel of the transparent glass in these colors.
 I made mini ones this time too which I have to make more of because I just love the dainty little things.
 And some earring pairs for Etsy https://www.etsy.com/shop/tanyamcguire?ref=si_shop
 Of course the mixed sets are my favorite.
And I just had to show off this picture because I like the picture.

Wednesday, July 23, 2014

A Variation.........

 ..........in color from the other day.  I for some reason have fall on my mind.  I know it is hot outside and that we are even having heat warnings because of the heat and humidity. (Amazing cold in the winter and hot in the summer.  There is no place like South Dakota.)
 I just have fall colors in my mind so I had to make up just a few of my favorite fall color combo into flowers.  I think they look like mums in this color. 
I will of course be listing some of them on Etsy, https://www.etsy.com/shop/tanyamcguire?ref=si_shop

Monday, July 21, 2014

Purple Rain...........

............no but lots of pretty purple flowers.  I have been busy making up some sets for my next few shows and of course a few for ............
 ...........my Etsy shop.  https://www.etsy.com/shop/tanyamcguire 
I of course had to make a couple of the double ones.  I just love the 3-D effect when you stack one of my smaller flowers on top of one of the larger ones.  As for rain a little of that might be nice right now because it might just cool it off a little.

Wednesday, June 11, 2014

Summer Daisy's

Some new daisy's today some are headed to Omaha with me tomorrow to the Smiling Turtle Art Spot https://www.facebook.com/events/1437467813177923/

and some are headed to my Etsy Store. https://www.etsy.com/shop/tanyamcguire?ref=si_shop

Make sure to read the information on the front Page of my Etsy store because I am having a little DELAYEDSHIPPING sale.

And there are some close up photos on my Facebook page if you would like to see them. https://www.facebook.com/pages/Tanya-McGuire-Beads-and-Jewelry/252035638176882?ref=hl&ref_type=bookmark

Monday, October 07, 2013

Free Tutorial on using a disc or flower bead.

So often, when we have a disc or flower lampwork bead we want them to hang where they face the front.  This tutorial is just a little trick to make them hang better and stay facing front and not flipping.
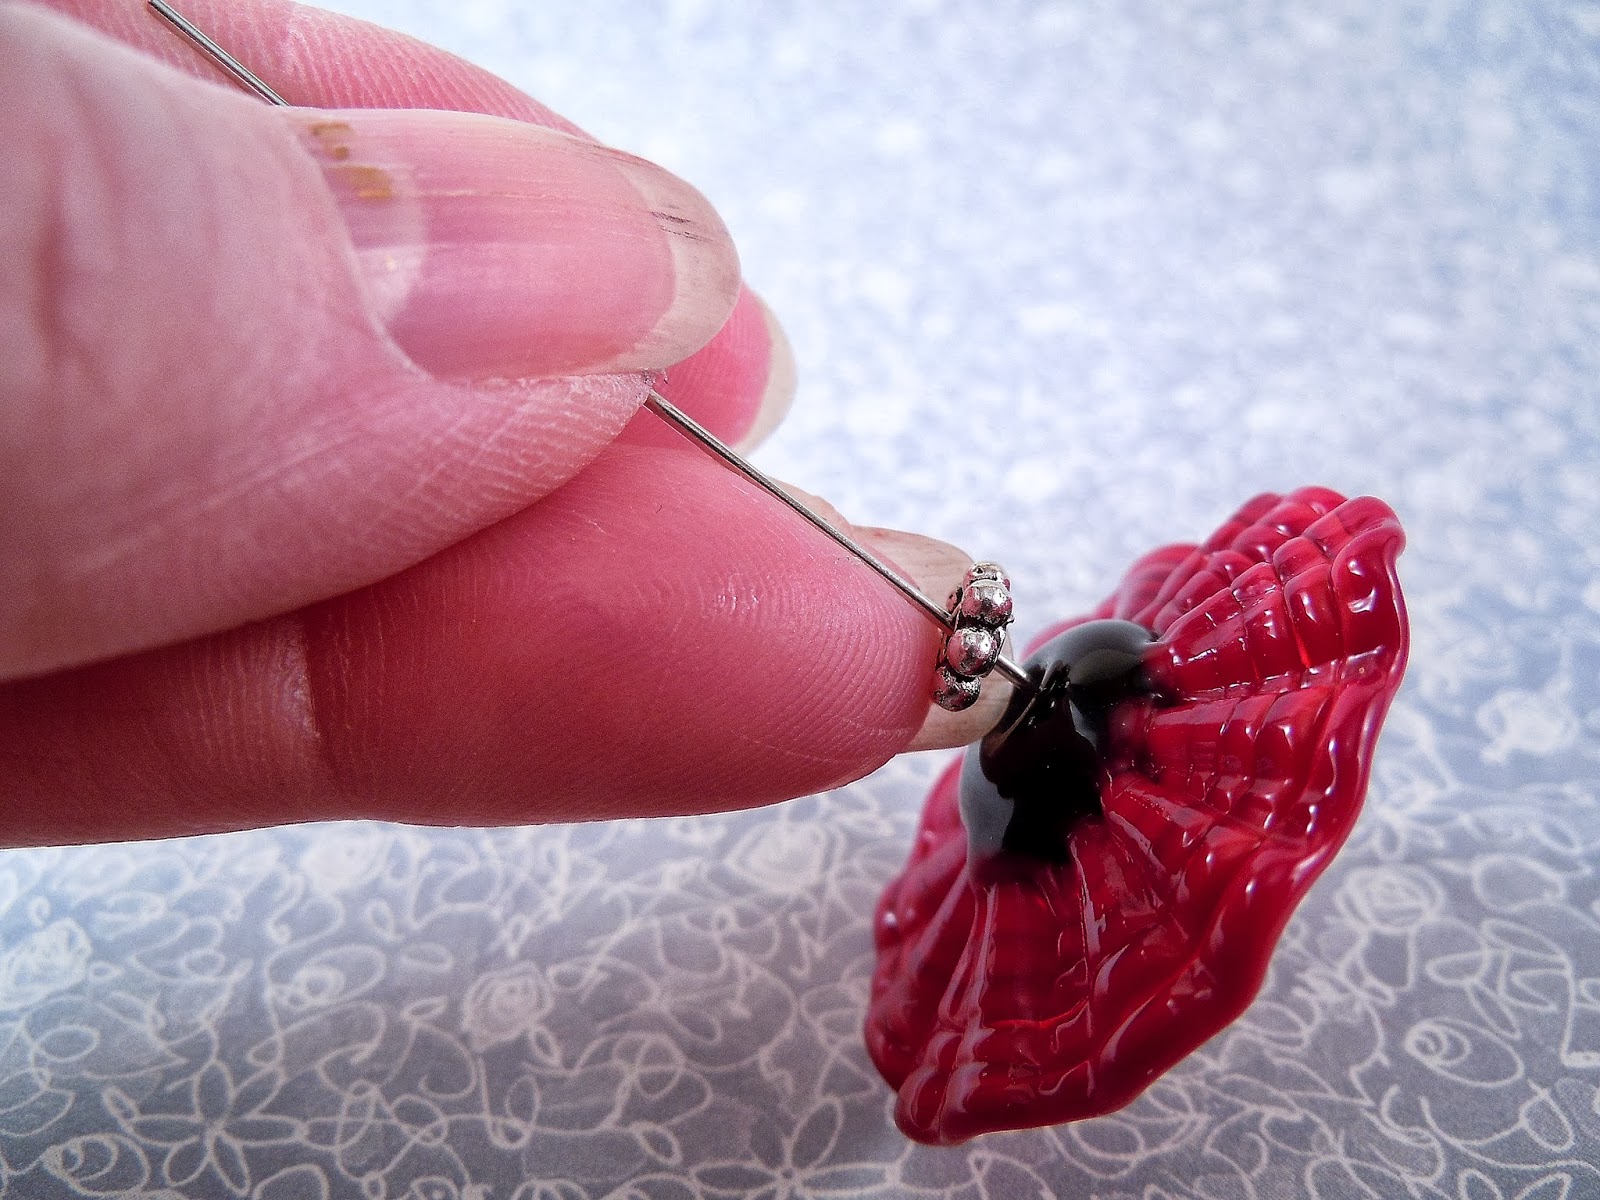
 You will need a lampwork disc bead, a headpin, 2 daisy spacers, wire cutters, and round nose pliers.  I also use a little dot of E6000 glue and a couple of size 11 seed beads.  These two things are not necessary but to me it makes a nicer finished product.
Take the head pin and put on one daisy spacer, (about 2 size 11 seed beads), the lampwork disc bead, and the second daisy spacer.  The seed beads just help to stabilize the head pin inside of the hole of the lampwork bead so you do not want any more than just fill that space.

 If you wish to use the dab of glue (E6000) that I like to use, it is placed just behind the back daisy spacer.  You want to use just a tiny amount and let it dry before going on.

 Once the glue has set, you take your round nose pliers and grip the headpin about 3/8 of and inch above the back of the daisy spacer.  I don't really measure this any more because I use the width of my fingernail.  You will want to make sure that the measurement is very close to the same if you are making earrings.
 You want to bend the head pin at a right angle.
 You are then going to make a loop.
 And wrap that loop.
 What you now have is a wrapped loop that is about 3/8 of an inch above the back of your bead.  I know this sounds like a simple thing but it is important that your loop is made and the excess wire has been clipped before going on.
 The next step is to bend the wire right at the daisy spacer making a right angle.  Or making the wire now parallel to the disc bead.  *** The biggest tip about this whole process is to make the loop and then bend the wire.  If you try to bend the wire first you can not get the wire wrapped around itself because you run into the bead. ***
 You are now ready to add ear wires if you are making earrings.
 If you want to make a pendant you will want to add a large ring into the the loop before you finish wrapping it.
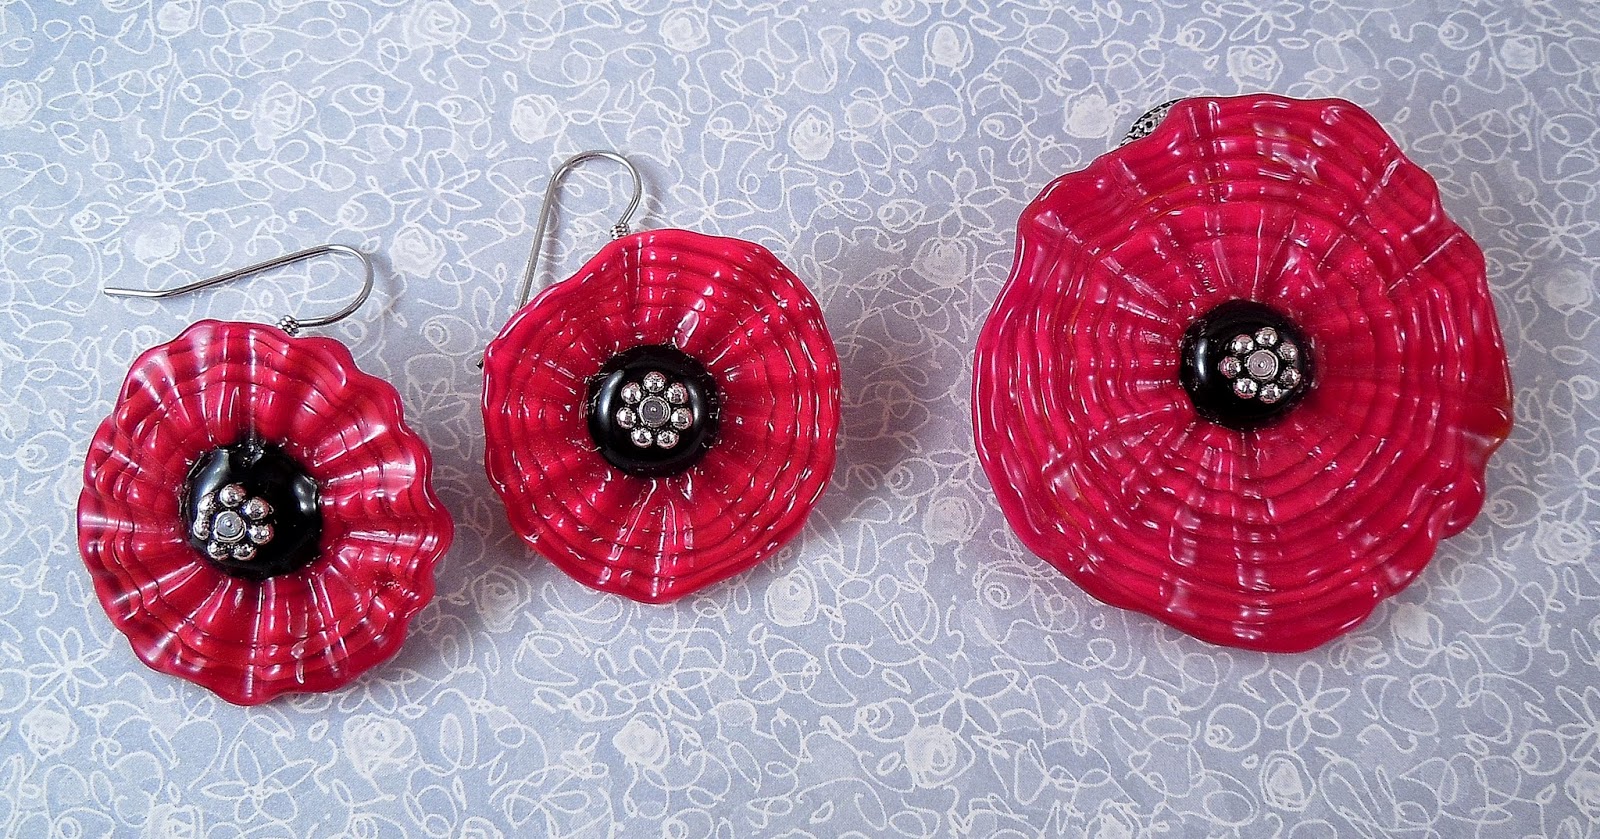
 There you have it disc or flower beads used for earrings and pendants.