Showing posts with label disc beads. Show all posts

Tuesday, January 20, 2015

Discs to go with my Prehistoric Series of Beads

Last year in January I started on a series of beads I called Prehistoric and I even got a couple of necklaces made with the pieces You can find Wilma Steps Out and Saber Tooth here.  I got that far with the series and things happened and as you know I was gone a lot so nothing further got done with the series.  It is January again and I am back to working on these beads and had to have some discs.  This first batch I am going to call River Stones and they are thick and and have that yummy shape that happens when you have water wash over a stone for years. 
Next up are some lovely Barnacle covered discs. I really like their bumpy edges.
And lastly for today we have a batch of simple one color discs.  All three styles are of course etched because Prehistoric just makes me think of the soft earth feel of etched glass.


Wednesday, January 14, 2015

Loads of Disc beads have been made.


 There are dotty discs, and ......
..............and two color discs,.............
.............and of course little single color discs.  There are lots of bright colors in all of these to go along with my Alice's garden flower beads.

Thursday, June 05, 2014

Suessology Bracelet

 The customer that bought my first Suessology necklace really wanted a bracelet to go with it.
 I have had the idea of what I wanted to do for a while but not being home I hadn't found the time.
She is a really great customer and knew it was going to take me a while.  After sending her pictures yesterday she says she loves it.  I know I really like how it came out.  It looks like a little sculpture.

Thursday, January 30, 2014

Crochet Necklace

 This is the last new necklace for this week as we are headed out for The Tucson Bead Show tomorrow.  It is the first necklace in another new series, this one is called Necklace #1 in the Suessology series.  I just think it is not going to tell me a name other than Necklace #1.  Sometimes that is just the way it works.
These new disc beads make great buttons and I just love the texture.  Anyone that is going to be in Tucson next week please come by the Windmill Inn and say hello.

Monday, October 07, 2013

Free Tutorial on using a disc or flower bead.

So often, when we have a disc or flower lampwork bead we want them to hang where they face the front.  This tutorial is just a little trick to make them hang better and stay facing front and not flipping.
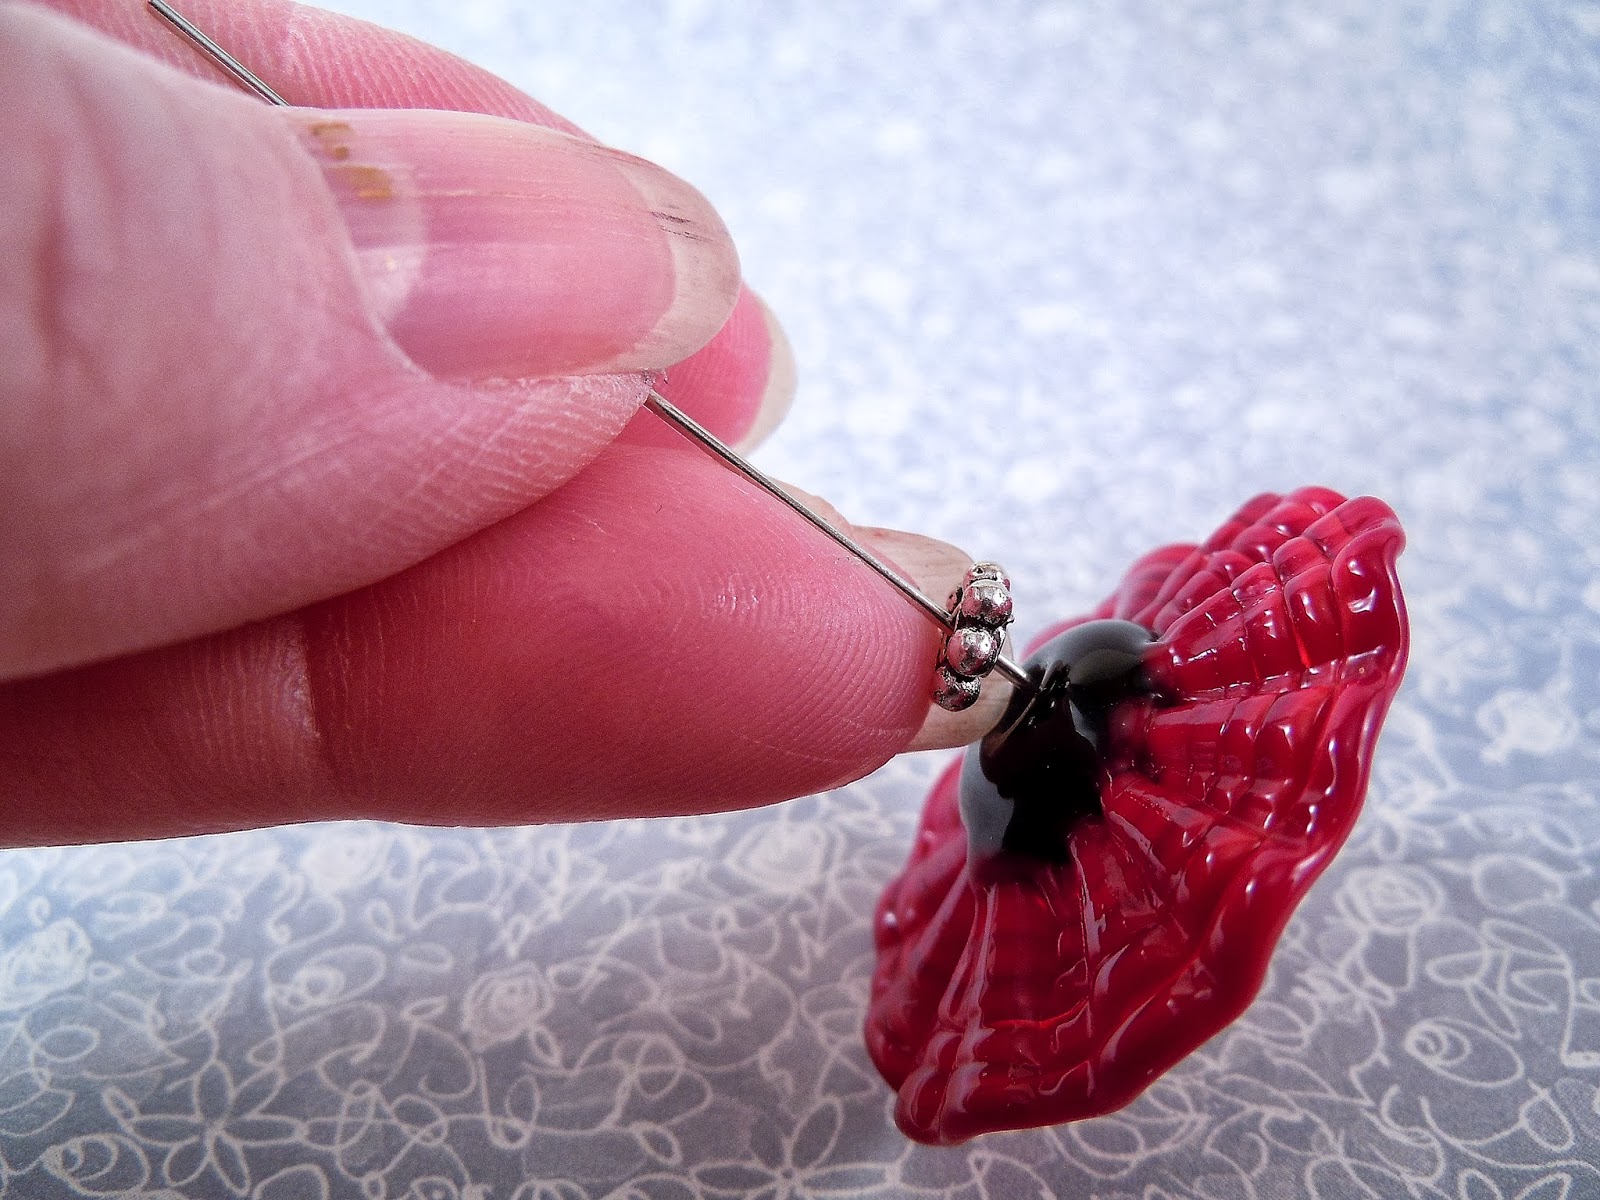
 You will need a lampwork disc bead, a headpin, 2 daisy spacers, wire cutters, and round nose pliers.  I also use a little dot of E6000 glue and a couple of size 11 seed beads.  These two things are not necessary but to me it makes a nicer finished product.
Take the head pin and put on one daisy spacer, (about 2 size 11 seed beads), the lampwork disc bead, and the second daisy spacer.  The seed beads just help to stabilize the head pin inside of the hole of the lampwork bead so you do not want any more than just fill that space.

 If you wish to use the dab of glue (E6000) that I like to use, it is placed just behind the back daisy spacer.  You want to use just a tiny amount and let it dry before going on.

 Once the glue has set, you take your round nose pliers and grip the headpin about 3/8 of and inch above the back of the daisy spacer.  I don't really measure this any more because I use the width of my fingernail.  You will want to make sure that the measurement is very close to the same if you are making earrings.
 You want to bend the head pin at a right angle.
 You are then going to make a loop.
 And wrap that loop.
 What you now have is a wrapped loop that is about 3/8 of an inch above the back of your bead.  I know this sounds like a simple thing but it is important that your loop is made and the excess wire has been clipped before going on.
 The next step is to bend the wire right at the daisy spacer making a right angle.  Or making the wire now parallel to the disc bead.  *** The biggest tip about this whole process is to make the loop and then bend the wire.  If you try to bend the wire first you can not get the wire wrapped around itself because you run into the bead. ***
 You are now ready to add ear wires if you are making earrings.
 If you want to make a pendant you will want to add a large ring into the the loop before you finish wrapping it.
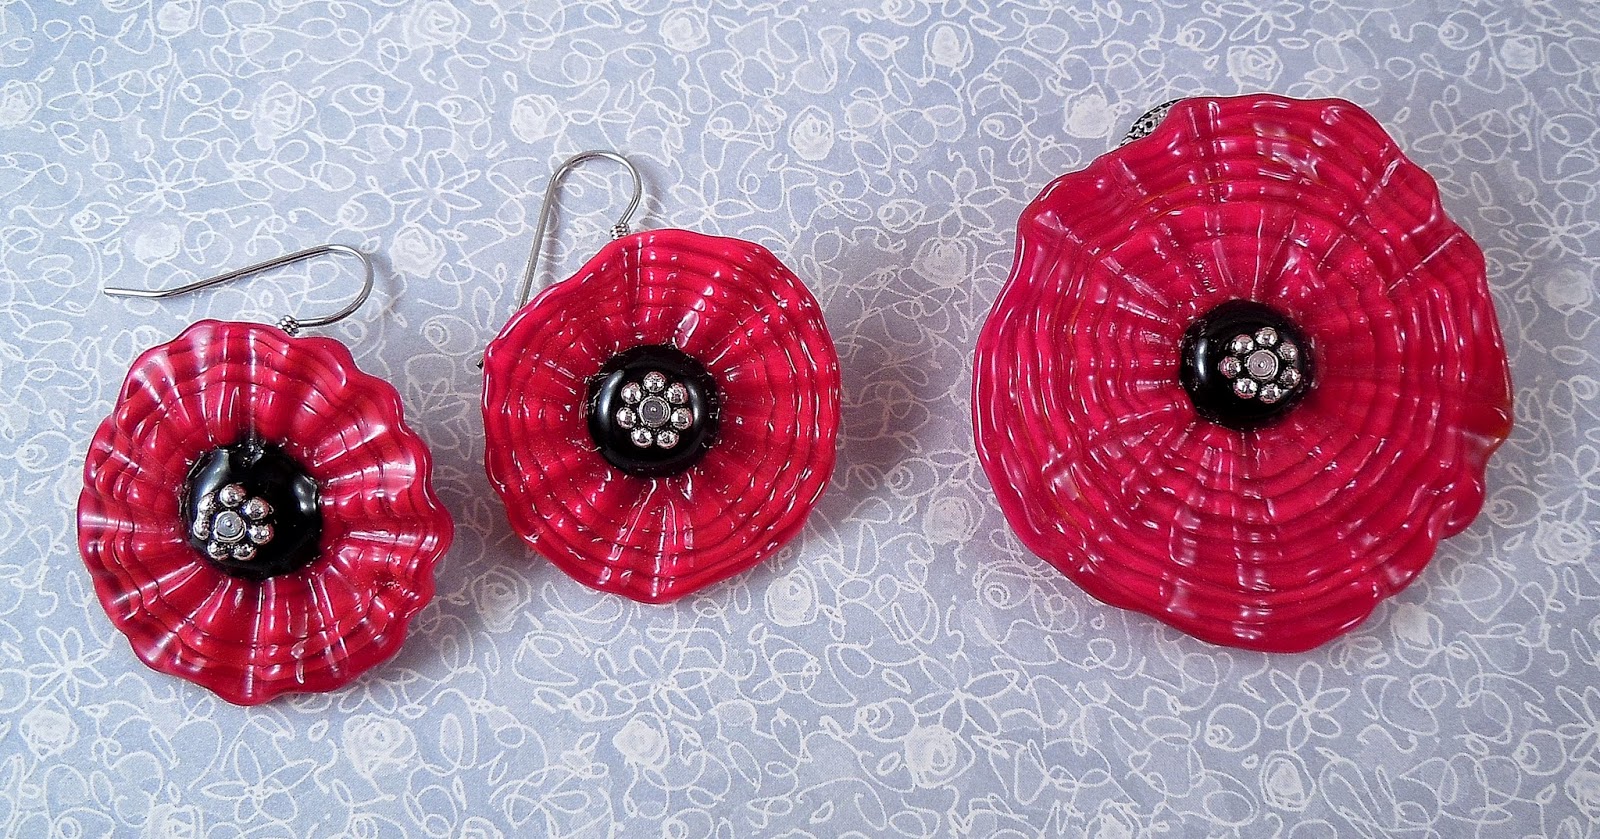
 There you have it disc or flower beads used for earrings and pendants.


Friday, October 04, 2013

My love for this black metalic.....

 ........glass goes on and on.  I just love this glass.  I love all the colors that it seems to reflect and I promise these pictures do nothing to truly show it off.
 The Raku pottery look just amazes me every time.  I only wish it wasn't quite so pricey.
The little disc on the left has sort of a steam punk look.  I want to try making some more of those soon.

I have decided to run an October Fest sale in my Etsy shop.  If you use the coupon code OCTOBERFEST you will get 10% off when checking out.  Make sure to read Etsy's how to on using a coupon code if you never have.  Also their codes are case specific so make sure to us all caps.

Tuesday, August 20, 2013

Disc beads from............

 ...........me today.  I have been playing with some disc bead the last week or so.  I have made these before but just not a lot recently.  I have an idea though for a necklace and I think discs might be fun....
 .........instead of flowers for this one.  Just a bit different.  Although when I look at these discs I still see............
.......flowers.  Just flowers that are more round maybe like roses instead of Daisy's.

Thursday, July 18, 2013

Alice's Garden Flowers

 This is a new one of my Alice's Garden series of flowers.  They are in two pieces so they are really 3 dimensional.  I have been making jewelry with them for a bit.  Check out my posts here and here.
I have just really started listing them on Etsy though.  This one just got listed this evening.