


Now just wrap the crocheted chain around your wrist several times, put the loop around the bead and you are ready to show off your new bracelet.


 .............I could say that at last I finally changed this blog, but instead I will say......it's finished. The beads for this piece were made months ago when Jodie and I spent a weeks challenge of making beads just to use ourselves. They have been sitting on my work table ever since. I wanted to take this piece with me for the next couple of shows and I just made it as we leave tomorrow. I after thinking about it all day I have decided to call it The Red Queen.
  If you would like to see it up close and personal come by Saturday in Omaha NE, at the Westside Community Center as I will be there for the bead show and the following week we will be at Stitches South in Atlanta GA.
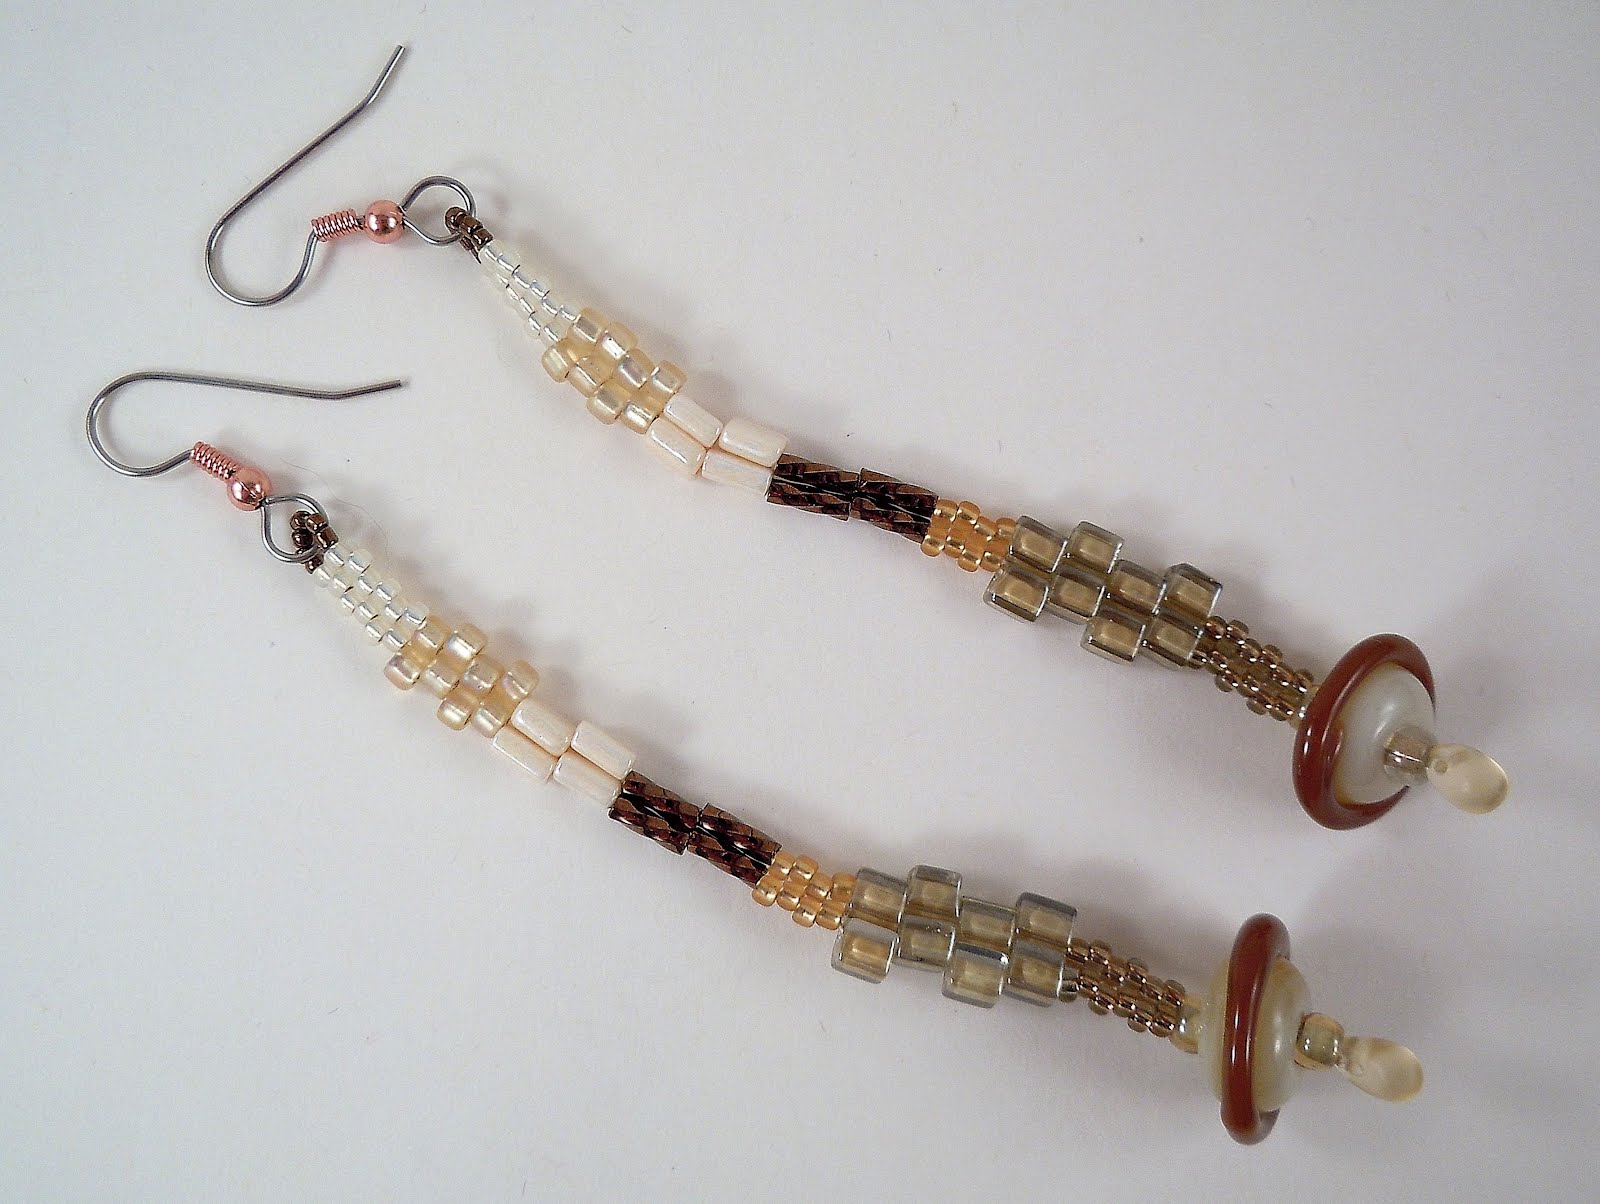 My friend Jodie Marshall put this great tutorial on her blog for these stick earrings. I have wanted to try and make a pair ever since she finished it up. I have to tell you they were so much fun to make and frankly I want to make another pair right now. I think that the fun of pulling out the beads to go into the mix was the best part. They work up so quick that you want to plan another pair right away. Check out her blog and try out a pair for yourself you will so be addicted.
 ..............and so has a new necklace. These are more if the new Alice's Garden beads and while the other two necklaces had titles this one does not yet. I am sure it will come to me.
 It is really nice around here these past few days nice and sunny and shirt sleeve weather when we could be having snow. I am truly loving it.
 This is my March button. It has been done to this point for several weeks. I just have not finished the back yet. I was going to wait until I did to show it off but I have not had time. March has been a month of running the roads. Driving all the time. So my theme this month is the road. (I should say last month since it is now April.)
